- You are here:
- Home »
- Airbrush Cleaning »
- How to Rinse a Side Feed Airbrush After a Spray Session
How to Rinse a Side Feed Airbrush After a Spray Session
A ‘spray session’ ends when you leave for awhile, like lunch or day’s end.
Cleaning is the most important regular maintenance you can do to keep your airbrush running smoothly for decades to come.
This method, also known as an end of session rinse, is exactly the same as a color change rinse except you also remove the needle and wipe it down.
Instructions
- Pull the paint bottle or color cup out of the airbrush.

- Push the paint bottle filled with the appropriate cleaning solution into the airbrush.

- Spray cleaner through the airbrush until it sprays clear.
Note: Spray into a filter of some kind. This keeps excessive overspray out of the air and your lungs. Towels, a paper towels, filtering systems, etc. all work.
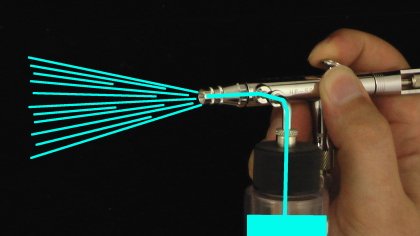
- Pull out the paint bottle of cleaning solution

- Unscrew the handle.

- Loosen the needle chucking nut.

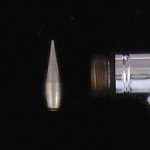
- Pull the needle out.

- Wipe down the needle
- Warning: Needles are sharp…they hurt going in and, especially if they hit bone, they hurt even more coming back out…Don’t ask me how I know that…

- Warning: Needles are sharp…they hurt going in and, especially if they hit bone, they hurt even more coming back out…Don’t ask me how I know that…
- Carefully replace the needle
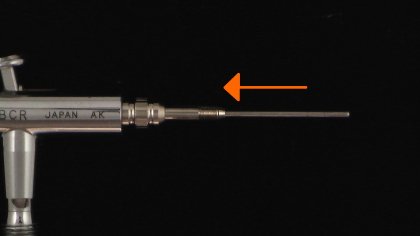
- Twist the needle counter-clockwise a half turn

- Tighten the needle chucking nut

- Screw the handle onto the airbrush body.

- Spray until dry
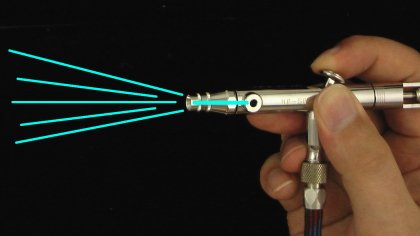
- Hang the airbrush up to dry
Do you need to clean the paint bottle too? You might not actually have to clean that bottle. Just a thought.
If you need to clean the cup, drop it into a jar or your cleaning solution and let it stay there for a few minutes. Then have at it with brushes.
The Guru’s Tips
- Use the ‘appropriate’ cleaning solution for your paint. It’s usually the reducer or paint’s base chemical.

- The best cleaning solution removes your particular paint and doesn’t use ammonia. Ammonia is bad for the airbrush itself.

- Your speed will improve, don’t worry if the time you spend here seems long. Your speed will improve the more familiar and habitual these methods become.
- If you are having problems this is your second fix.
- A Color Change Rinse comes first.
- Followed by a Deep Cleaning if these first two methods haven’t solved the problem. Just make sure you choose the right set of instructions.
Do you have a screw in nozzle?
or…
Do you have a self centering nozzle?

