- You are here:
- Home »
- Airbrush T Shirt »
- How To Airbrush Portrait on Black T Shirt

How To Airbrush Portrait on Black T Shirt
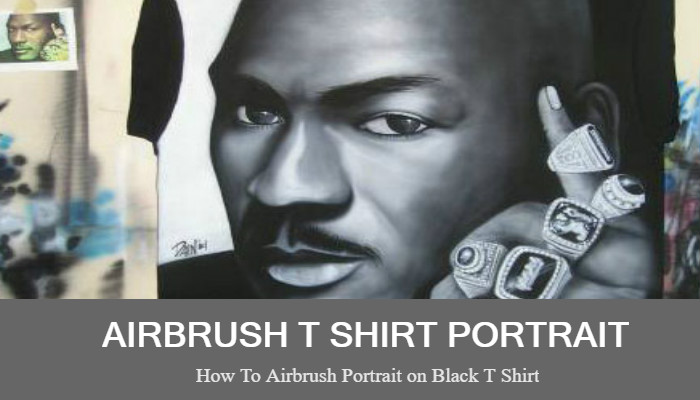
Airbrush portrait of Michael Jordan on black t-shirt by Dainon Woudstra.
This design begins with yellow chalk outlines that have been blown out with an airbrush at 25psi. The design needs no borders but I would like the sleeves to be kept black. There for, masking off the seam in the sleeves is a good idea.


The main focus in the portrait is Jordan’s face. I’ve begun with the highlight areas of his face and use the overspray to cover some of the darker areas. Detail is important in this stage of the white process so keep it clean. I’ve also misted in the back of his head and his hand.

The background to the left is going to be bright white. Notice that I’ve filled it in white but it isn’t all that bright. An even spray of white is what is important because this area needs another layer after the black stage to brighten it.

Now that the white is laid out, I move into black. I started this stage with the left outline of his face. I then cut out his body area from his chin and background. Then the head is defined and the area between his hand and face.


I’ve now moved on to his hand and rings. The rings were mostly white before and they need to have more definition so painting them in mostly black will allow the white to be much brighter in the final stages.

Now I’ve balanced the design with black and white until he has the right contrast. Notice the blotchy areas on the right side of the face. This is a spaying technique to allow the portrait to have more life. It is created by using light amounts of white, followed by light amounts of black and repeated until the desired tone is met.


The close up above shows the edge of the face and the detail in the eyes. Keep in mind this is without any masking. A lot of times, masking will leave the image raw and unreal.
