- You are here:
- Home »
- Airbrush Cleaning »
- Deep Clean Your Gravity Feed Airbrush – Self Centering Nozzle
Deep Clean Your Gravity Feed Airbrush – Self Centering Nozzle
This particular guide applies to these airbrush models.
Iwata
| HP-BS | HP-CS | K-CS |
If you manufacture or import airbrushes and think your brand and model should be included in this list, please contact me.
Instructions
Equipment
- Towel or tray to work overTo catch things that drop. Small pieces are really good at hiding.
- Appropriate cleaning solutionGenerally it’s your paint’s reducer, or ‘base’. Alcohol based paints tend to dissolve in alcohol, water-based paints in water, etc. Sometimes, especially for water-based paints, there are other cleaning solutions that work much, much better than just plain water. Don’t use anything with ammonia in it.
- Round wooden or bamboo toothpicksYou might need some sand paper or an old nail file here as well depending on just how sharp the toothpicks are–you might need to make them sharper.
- Bristled cleaning brush or….Interdental brushes (personal favorite), Airbrush cleaning brushes (you’ll need the small ones), or pipe cleaners (not recommended)
- A crescent wrench
- Cotton swabs for general cleaningNote: Cotton swabs do occasionally shed their fibers, if it does just make sure you pick them out
- Mirror or mirror-like surfaceOld AOL CDs are my favorite “mirror-like surface” but if you’re cleaning with a solvent CDs won’t last long. In that case use part of a glass mirror.
- (Optional) magnifying glass or jeweler’s loupe
Disassembly
- Unscrew the handle

- Unscrew the needle chucking nut
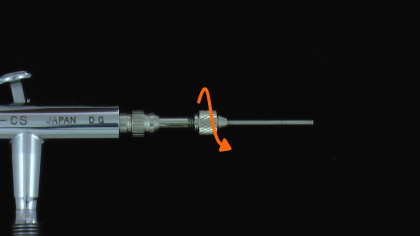
- Pull out the needle

- Clean the needle with a rag…
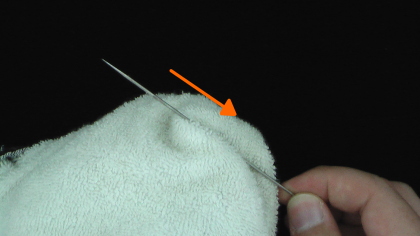
- or a cotton swab.

- Warning: Needles are still sharp.
- Unscrew the needle cap

- Unscrew the nozzle cap

- Unscrew the head cap, use the crescent wrench if necessary

- The nozzle should fall out.

If it doesn’t, simply remove it with your fingers.- If it’s stuck to the airbrush body use your thumb to push it off to one side.
- If it’s stuck inside the head cap, use a pair of needle nose pliers to pull it out. Try not to scratch up or gouge the nozzle.
Nozzles are delicate, they break easily
Cleaning
- Examine the nozzle for damage
- Look at the small tip

- Make sure it’s a true, perfect circle free of dings, dents, tears, and cracks

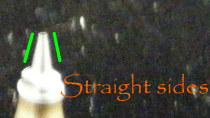
- Look at the nozzle from the side
- Make sure the tip does not flare out like a trumpet
- Make sure the nozzle’s back is round, smooth, and free of debris.
- If the nozzle does not pass inspection replace it
- Look at the small tip
- Start cleaning the nozzle with a brush
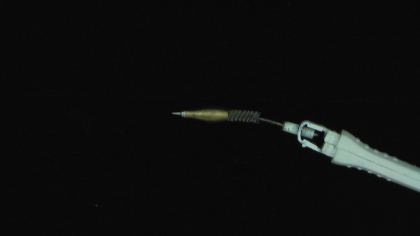
and finish with a toothpick…
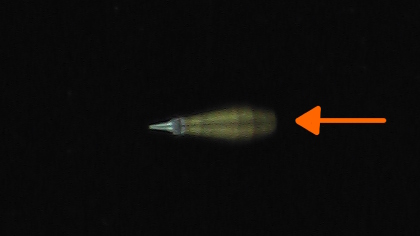
This is the important piece, make extra special certain it’s clean. - Clean the paint passage at the front of the color cup with the cleaning brush
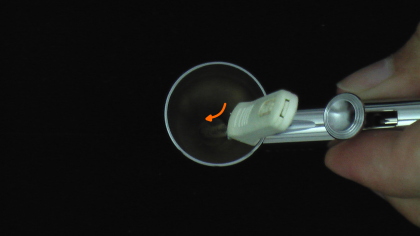
- Clean the front of the airbrush body. Pay special attention to the place where the nozzle sits.

- Clean the color cup. Cotton swabs or paper towels both work fine here.
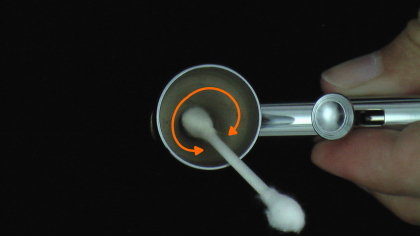
NOTE: Clean everything very thoroughly! I know you’re getting tired of me saying it. But I harp on it because it really IS that important!
Reassembly
- Place the nozzle onto the airbrush body.
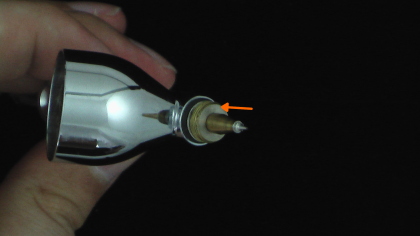
- Screw the head cap over the nozzle onto the airbrush body.

- Lightly tighten the head cap with the wrench, no more than a quarter turn.
- Screw the nozzle cap onto the head cap
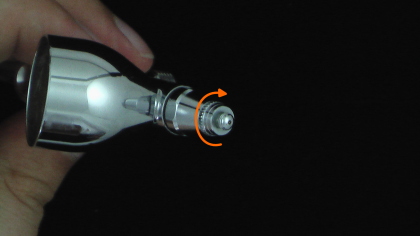
- Screw the needle cap onto the nozzle cap

- Gently insert the needle. It should come to a firm stop with the needle tip poking out of the front.

Do not force it in. - Twist the needle counter-clockwise a quarter turn
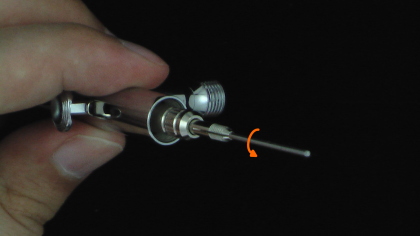
- Screw the needle chucking nut, big end first, onto the needle chucking guide
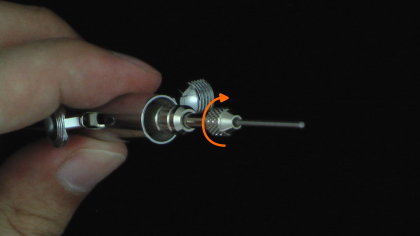
- Screw the handle onto the back of the airbrush body

Testing
- Fill the color cup with water
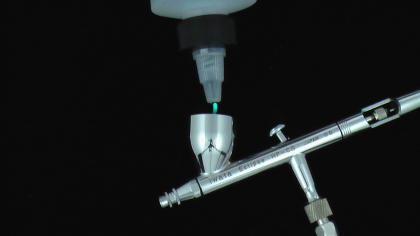
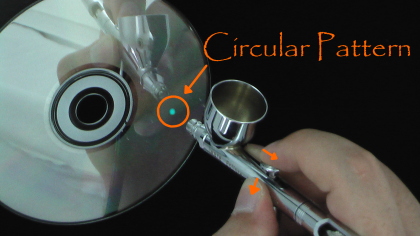
- Hold the airbrush up to a mirror and press down for air only
- No spray should come out.

- Hold the airbrush away from the mirror.
- While holding the trigger down for air pull it all the way back.
- You should get lots of continuous spray
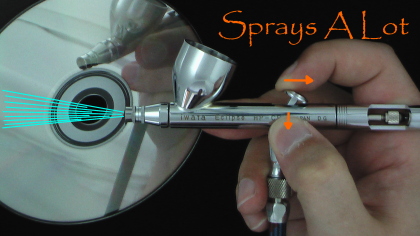
- Hold the airbrush back up to the mirror and re-confirm no spray
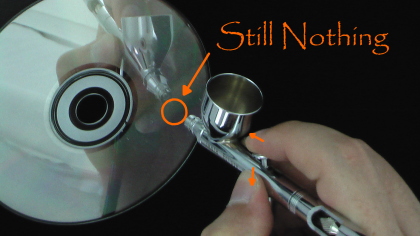
- Now pull the trigger back slightly
- You should get a round spray pattern.
